
I’ve been taking underwater photos for the past five years of my life. During these years I’ve learned quite a few tricks and important steps to getting a beautiful underwater photo. Keep reading to learn how you can take beautiful underwater photos too!
Step 1: Get Comfortable Underwater
Safety comes first. If you are not confident in the water you should not be bringing a camera with you underwater. Get comfortable and confident in your swimming/diving abilities first. Then introduce the camera.
It may seem easy taking a camera underwater but there’s actually a lot to think about. You need to watch your surroundings so you don’t crash into anything. You should have full control of your body so you not only keep yourself safe, but you keep the camera safe too.
If you are scuba diving you need to be able to control your buoyancy so you are not causing more damage to the environment. The camera is an added element that will affect your buoyancy underwater. You will learn to control your breathing to help you with your buoyancy while taking photos.
If you are not comfortable in the water you won’t get good photos. It’s as simple as that. You need to keep yourself safe first, then learn how to use your camera, then introduce it underwater. A camera can always be replaced. Your life can not.
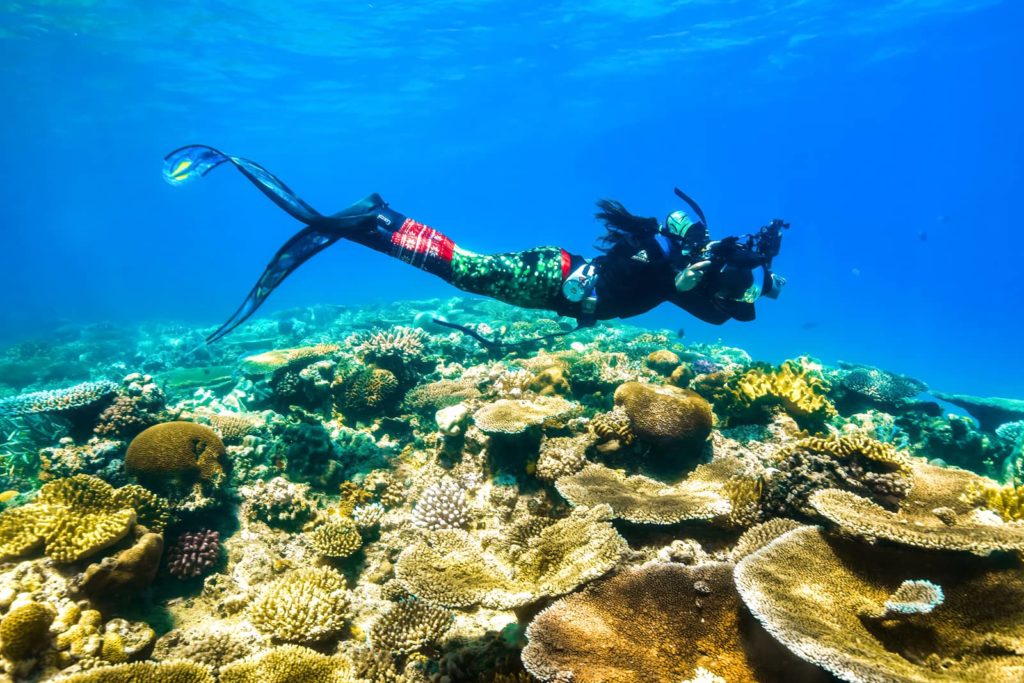
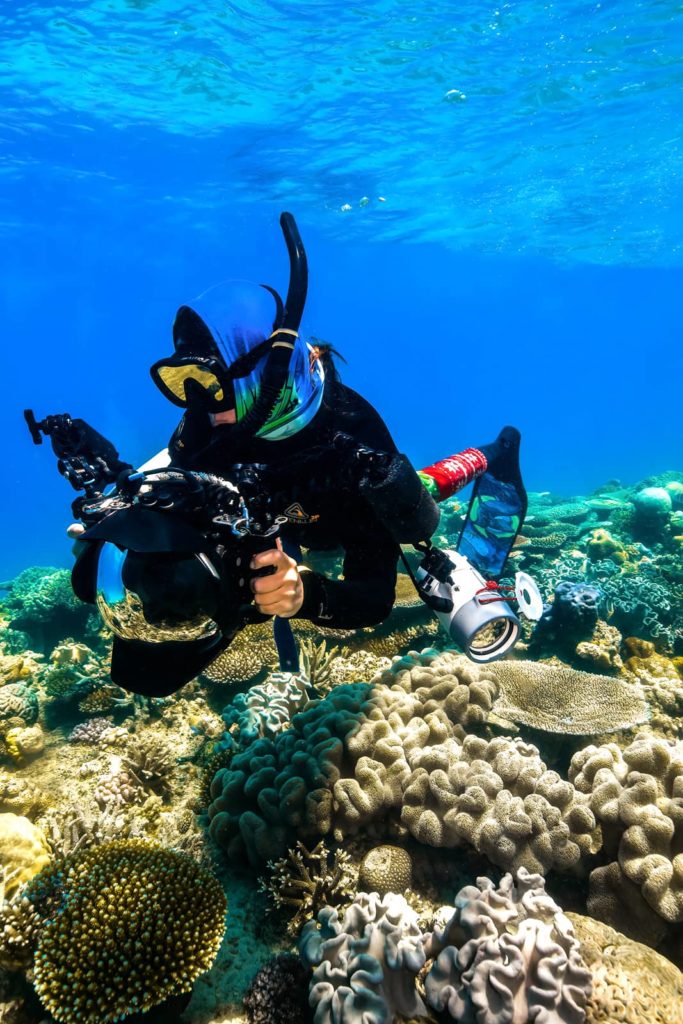
Step 2: Get Close
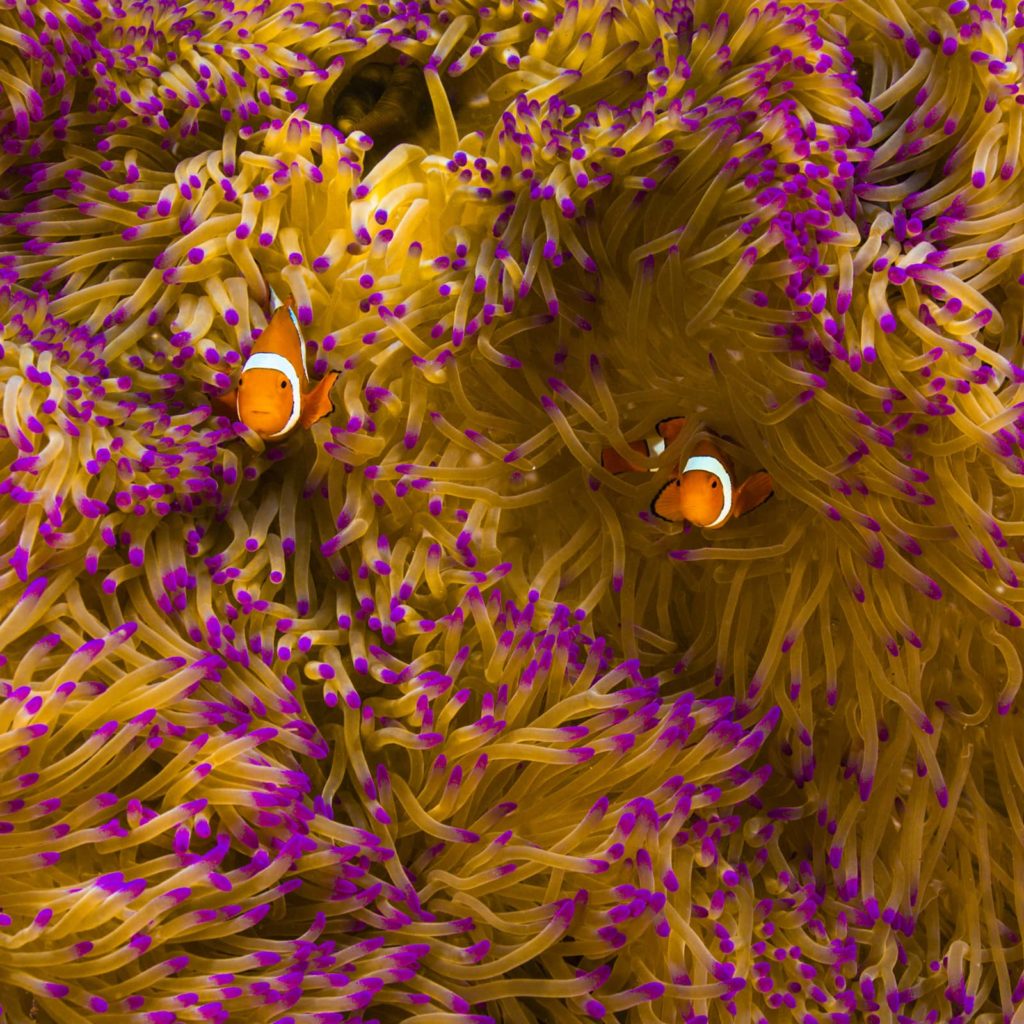
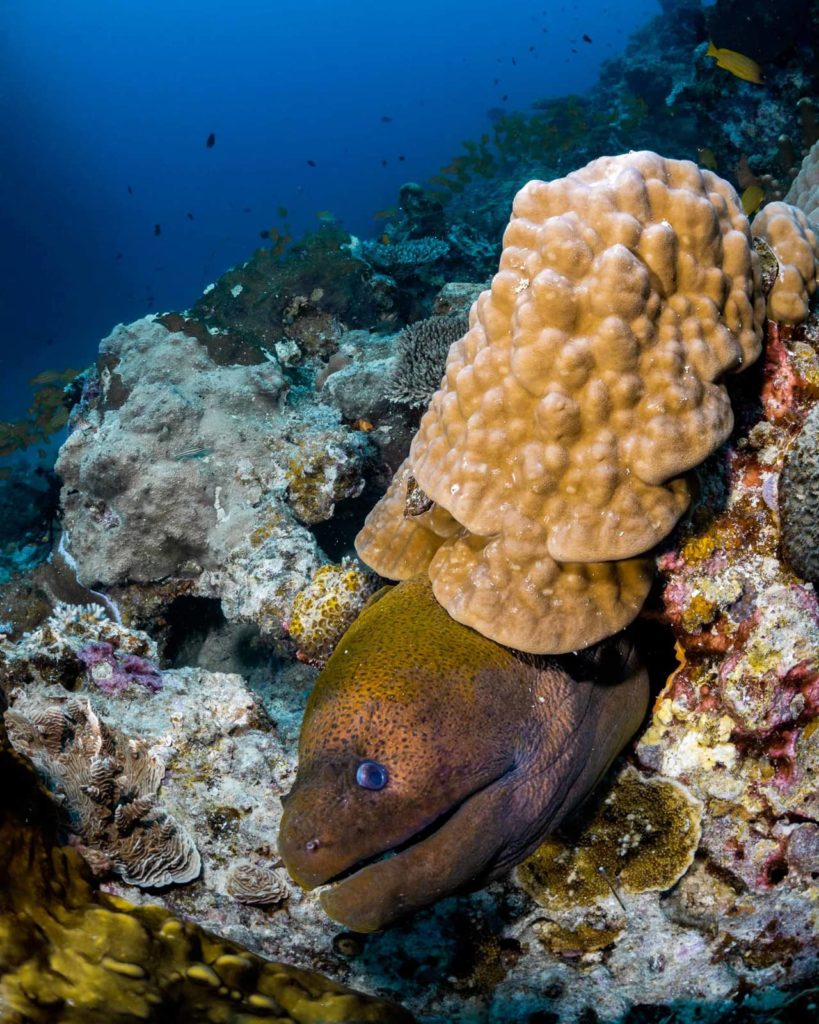
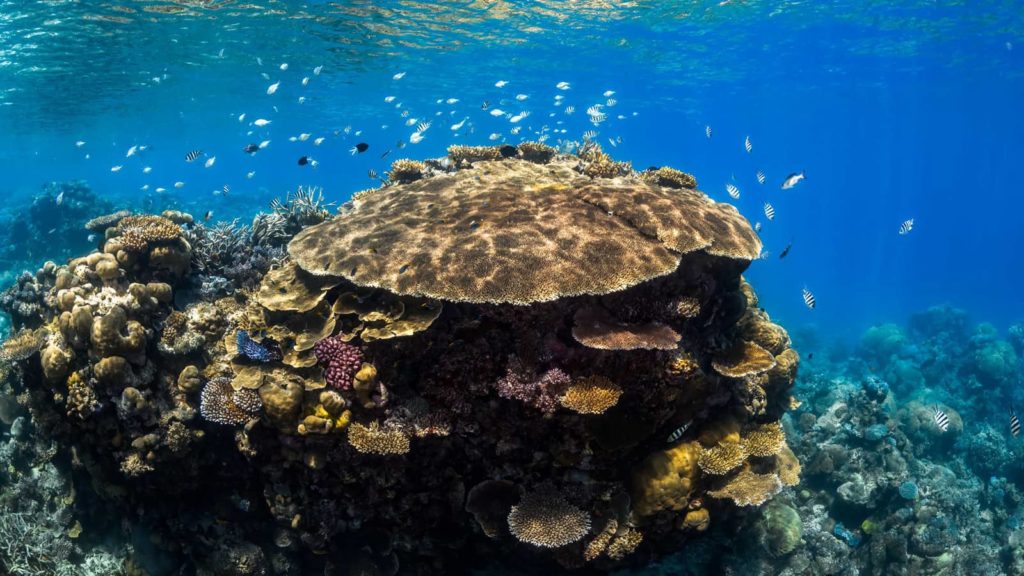
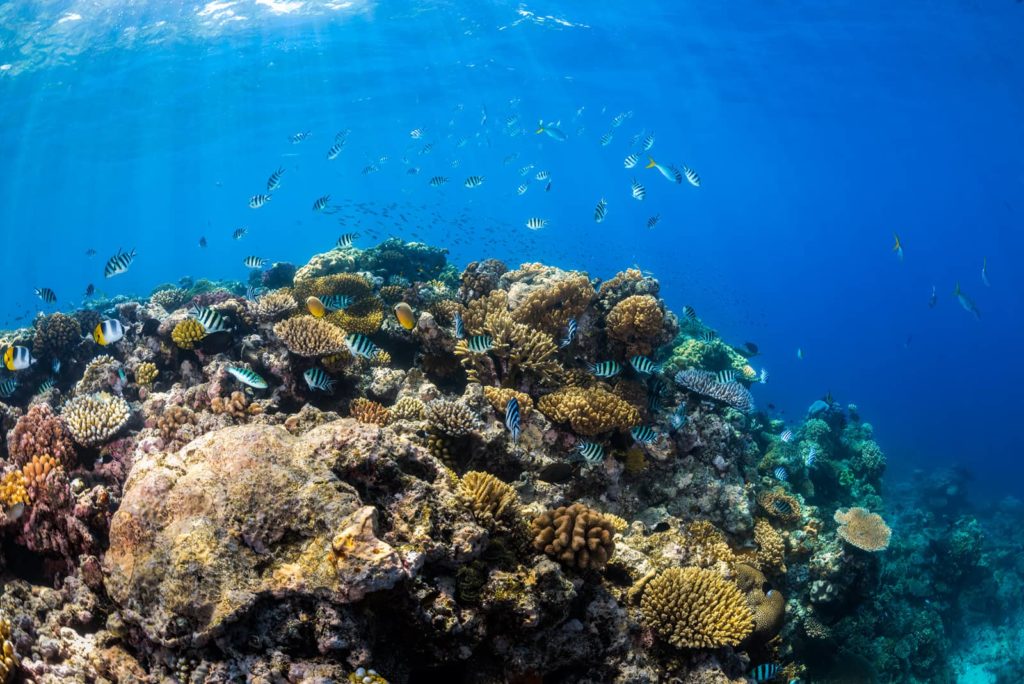
One of the most important rules to remember in underwater photography is to get close to your subject! Shooting underwater is completely different to shooting above water. When you're underwater your lens has to shoot through a dome and water to get the photograph. Water reduces color, contrast and sharpness, three things that can make or break your photo.
If you don’t get close to your subject your photo could be blue, flat and have soft focus. Ideally you want to be within 1 meter (1-3 feet) away from your subject. The closer you are to your subject, the less water you have to shoot through. In turn that will make for a better photograph.
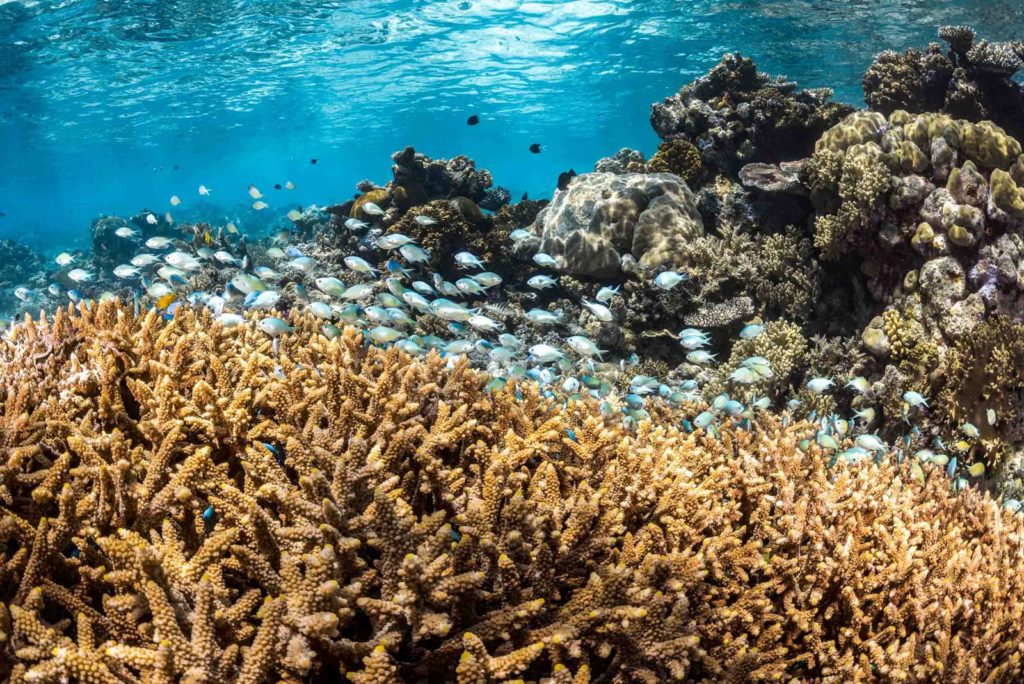
If you think you are close enough, get closer! When I photograph marine life and coral reefs I always use my Sigma 15mm fisheye lens. This lens allows me to get really close to my subject but I still have a wide angle of view. The benefit of getting closer is I have less water to shoot through which means the color and contrast of my photos improves. Additionally my strobes are more effective the closer I am to my subject.
Step 3: Utilize Your Light
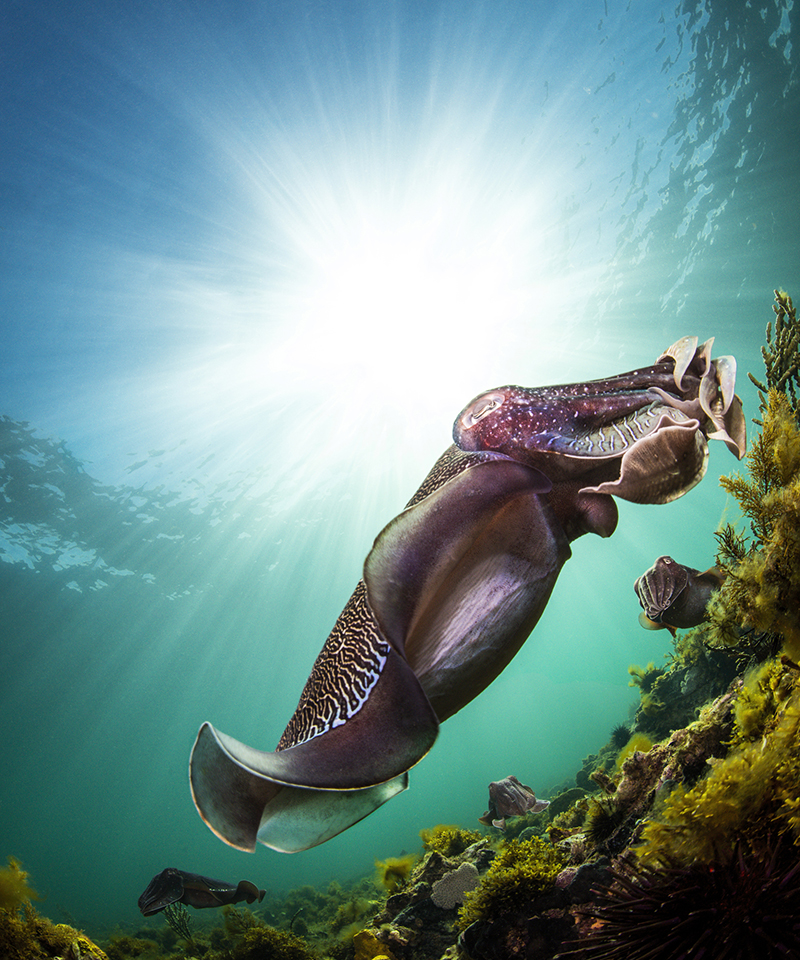
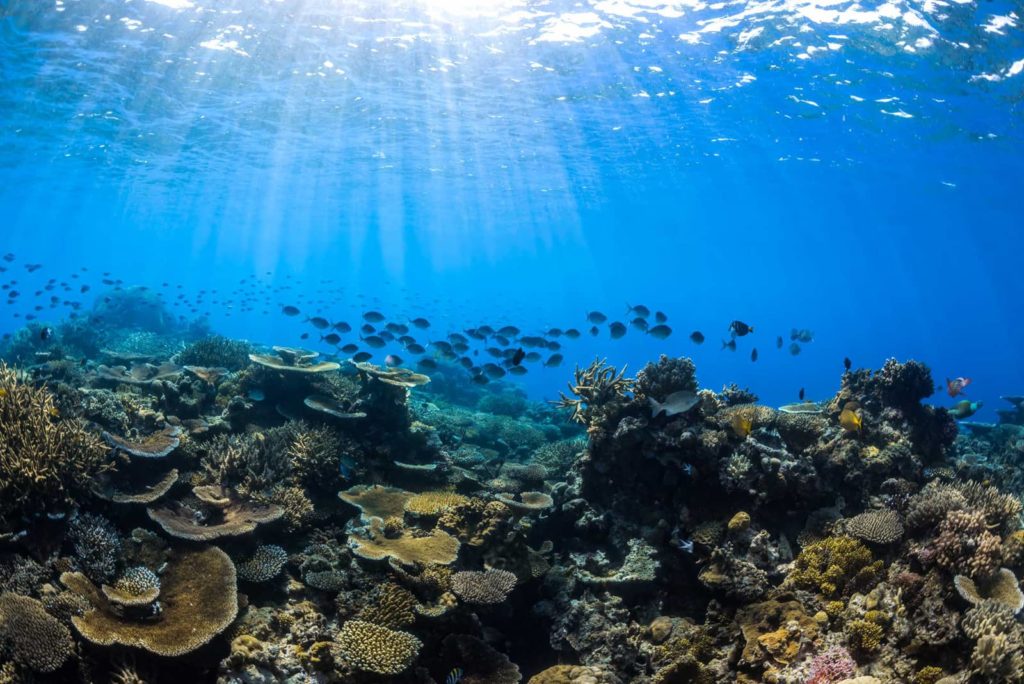
The biggest problem when taking underwater photos is the lack of light. You have a couple of options when it comes to lights underwater. The first is natural light. Utilize the sun! It is your biggest light box and when you use it right your images will look beautiful.
Remember to place the sun behind you. This way you are not shooting directly into the sun and the sunlight is illuminating your subject. When you are taking photos in shallow water the sun is sometimes all the light you need. Use it to your advantage, sunlight is strongest the shallower you are.
If you have a DSLR camera you can take a manual white balance of your subject to get the colors right when shooting with daylight. To do that you can carry a white slate with you and position the slate in front of your subject where the light is hitting. Take your camera, point it at your slate, and take a white balance reading off of it. From then on out while you are shooting at that current depth you can use that custom white balance for your photos.
Let's talk about color. Underwater the first color you lose is red. Water absorbs colors in the red part of the light spectrum. This is why the ocean is blue. Like a filter, water leaves colors in the blue part of the light spectrum for us to see. Now just because the ocean looks blue, doesn’t mean everything in the ocean is blue. You have all kinds of colors underwater. Corals can be red, yellow, orange, purple, blue, brown, etc…
But to bring out those reds, yellows and oranges you need light. You either do that by using the sun and using a manual white balance, or you can bring in artificial light using underwater strobes. This way your images don’t turn out blue. The light will bring out the true colors of your subject, just remember to get close.
Step 4: Nail Your Composition
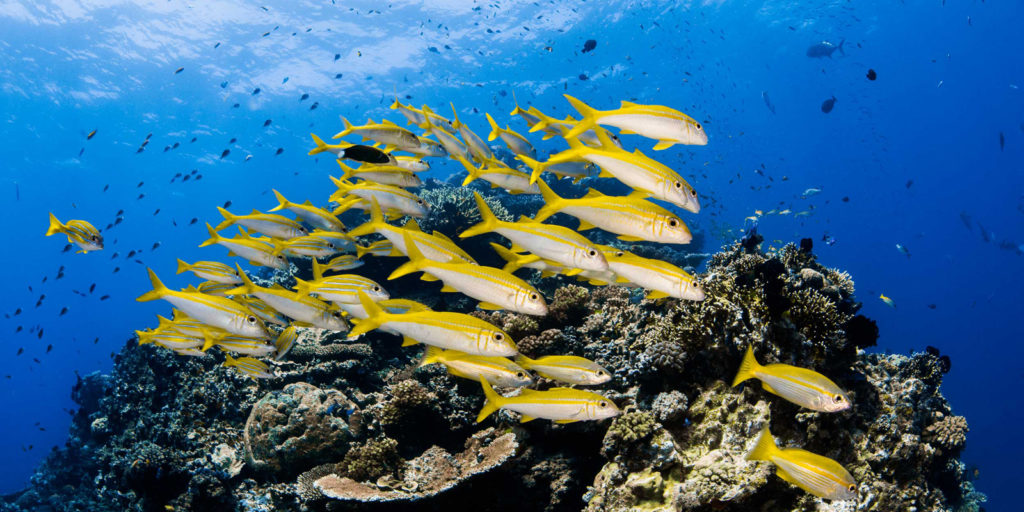
A great photograph not only needs to be properly exposed but it should be composed in the frame beautifully. There is often a lot going on underwater. You have reefs filled with lots of fish, animals, coral, etc… You can’t capture it all in one image. Choose your subject and focus on it. Fill the frame so that when someone looks at your image they immediately know what your intention was.
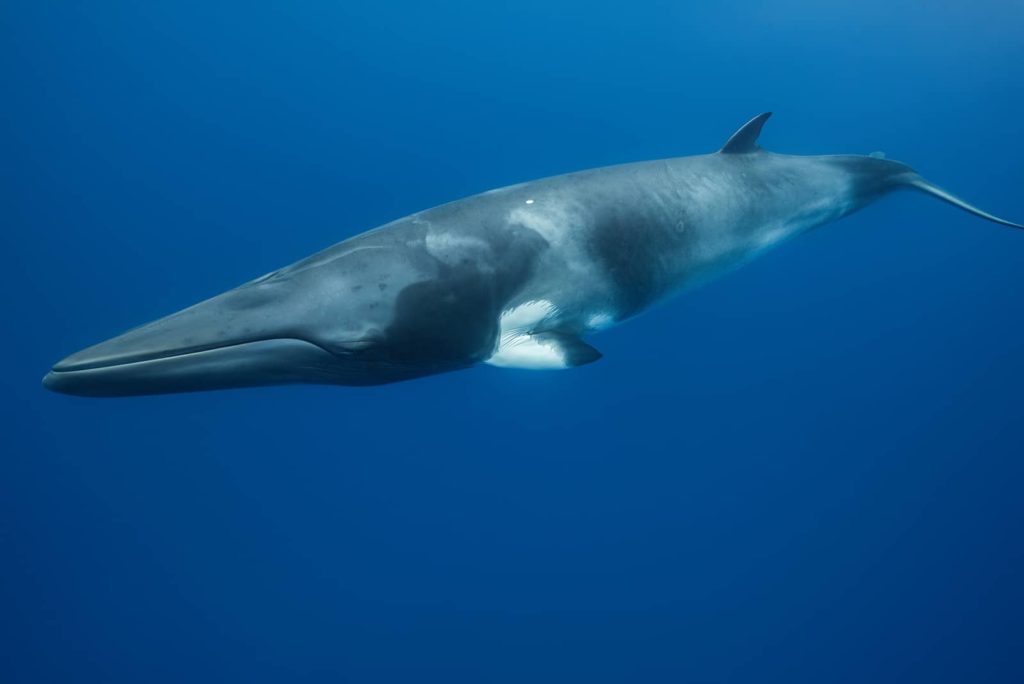
For example if you want to take a photo of a whale get close to it. Your image will be much more impactful if you fill the frame with this whale rather than taking a far away photo where the whale is only in 1/3 of the frame. You can get creative with your framing as well. You can use a macro lens to zoom in on the eye of the whale. Or you can get a classic shot of the whale swimming right at you that fills the whole frame.
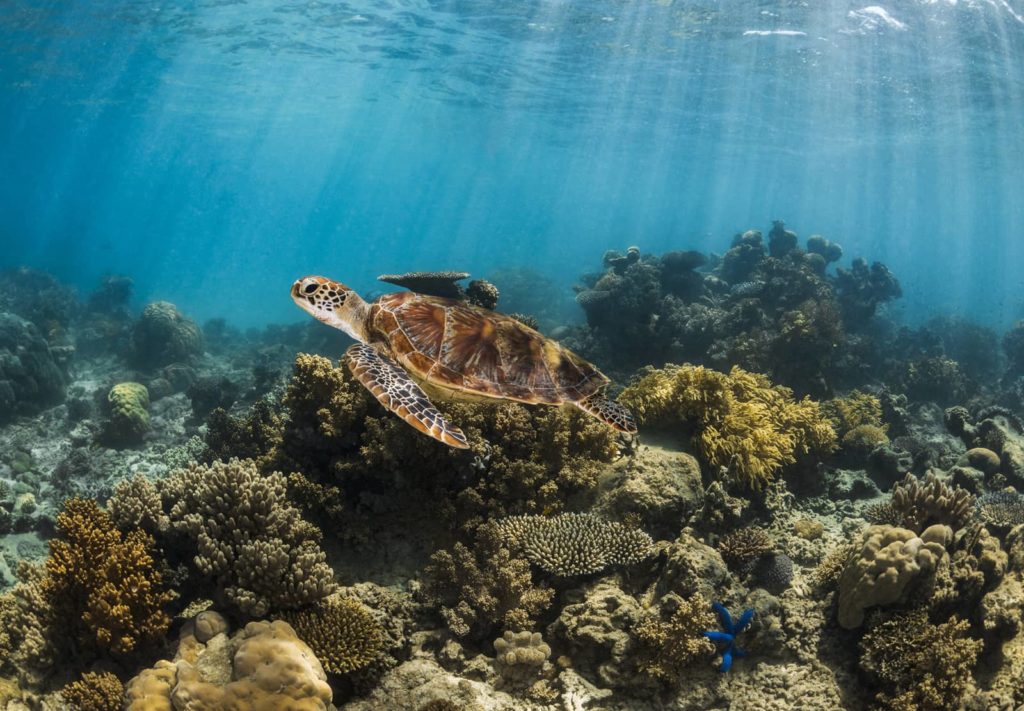
Either way, make sure there is a focal point that draws the viewer into the photograph. In underwater photography it also works when you get low and shoot your subject from above. You want to be on a bit of an angle. This way your subject gets some depth. By getting lower and at an angle you can capture a beautiful reef behind your subject. Or you can get really low so you are directly underneath your subject and shooting up to create a silhouette.
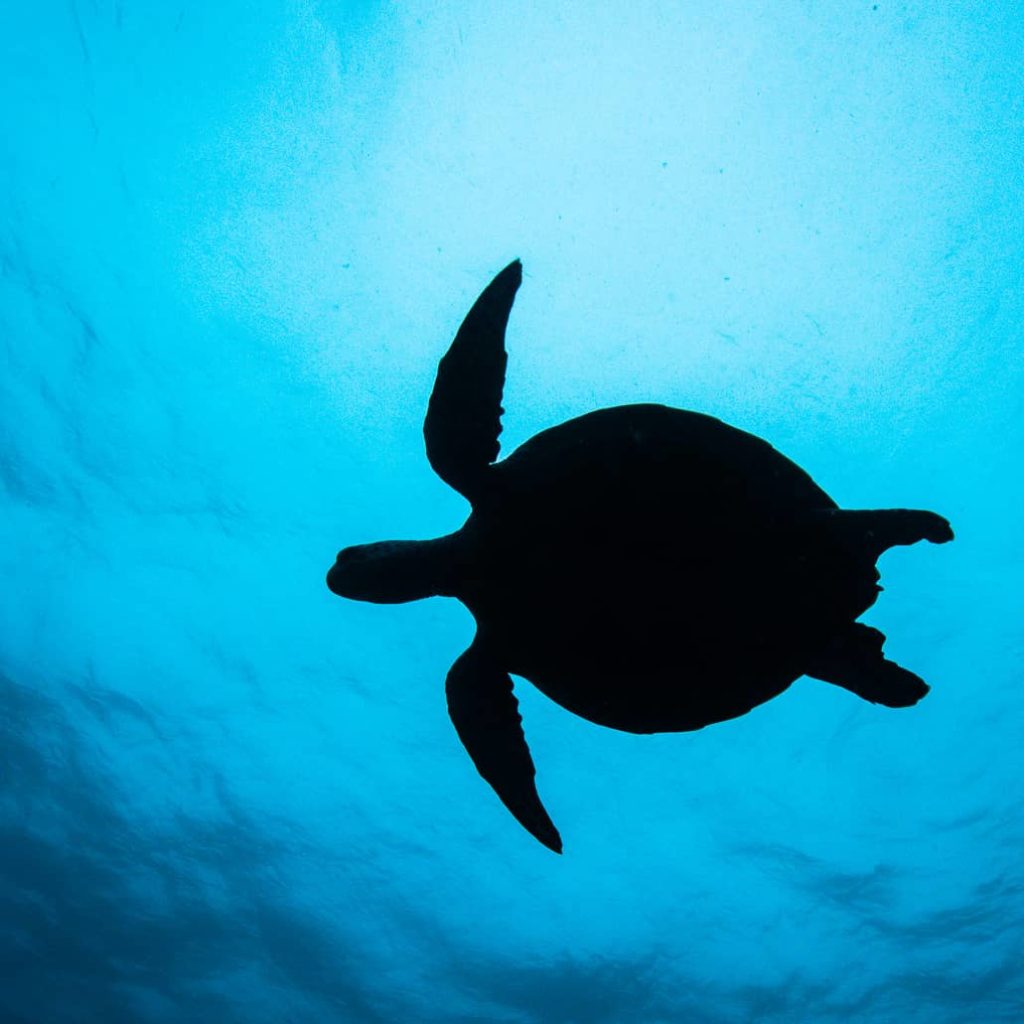
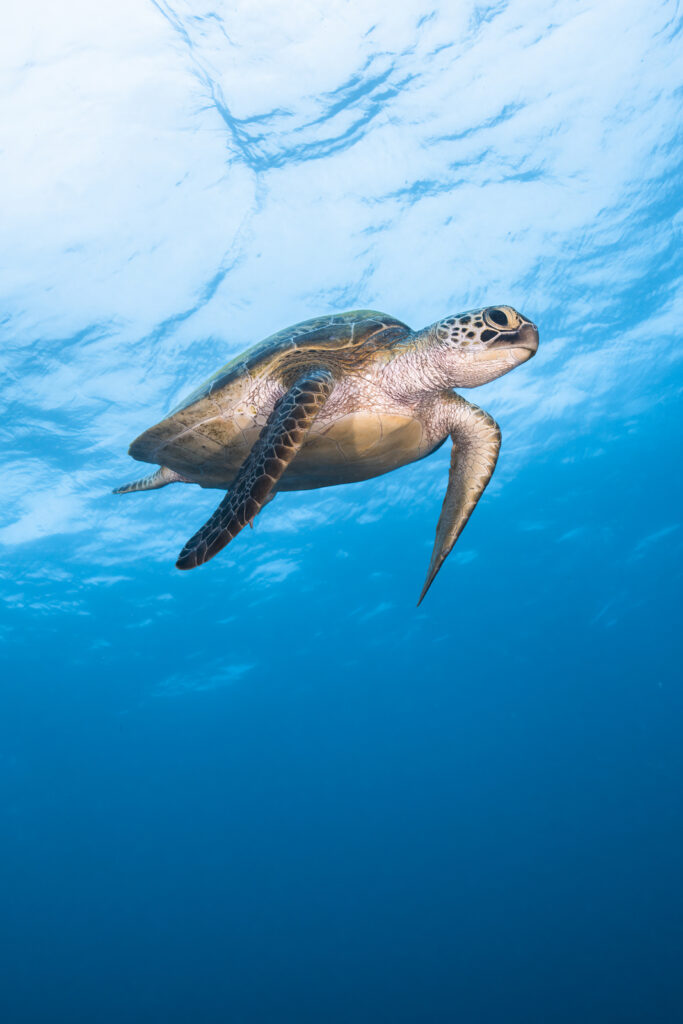
Don’t forget you can move your camera’s orientation too! It’s easy to just shoot horizontal photos all day. But think to yourself when you approach a subject, would this shot look better horizontal or vertical? If you have any interest in getting your images featured in a magazine remember the covers are all vertical shots! Keep this in mind when figuring out how best to portray your subject. There are so many creative ways to take photos underwater. Play with your angles to make a standout image. Turtles have been photographed millions of times. How can you make your turtle image stand out by changing the framing, angles, and orientation.
Step 5: Focus On The Eyes
If you are photographing an animal, fish, or human, the most important part of the body to nail the focus is on the eyes. If the eyes of the subject are out of focus you can throw that photo away. The eyes are the windows to the soul. It’s always the first place anyone looks when looking at a photograph. I’ve had plenty of times where I thought I nailed the photo until I look at it on the computer and the eyes are not in focus and I can’t do anything to fix it.
It’s such a defeating feeling knowing that an image is unusable when everything else in the image is perfect. Of course there could be instances when you're being creative and you purposely want the eyes to have a soft focus. But the majority of the time you need to have sharp eyes. Now to do this underwater there are a lot of factors to consider. Getting closer to your subject helps in focusing.
Step 6: Have Patience
It is so easy to get in the water and be so amazed by everything you just snap away. You see something cool, focus, shoot and move on. I know it’s tempting to want to see everything you possibly can, but you can’t do that. The next time you see a subject you want to photograph, take a deep breath and focus on what you want your image to look like. Make sure your settings are right for the lighting and the subject.
Is the subject in the best position or do you wait for it to move to get the best shot. You have to remember everything is always moving underwater. I often place myself in front of my subject and wait for the fish to either not be scared of me anymore, or swim into a position I like. If a turtle is swimming my way I don’t rush towards it, I wait for my subject to come to me.
You have to take in your environment and familiarize yourself with your surroundings. Remember this is not your home, you are in the ocean that you are sharing with all kinds of animals. Slow and steady wins the race. Do not rush your underwater photos. Take your time, figure out what you want to portray and then do it. Trust me your photos will be much better by taking your time rather than rushing to get as many photos as possible.
Step 7: Learn Manual Camera Settings
Shooting manual may seem daunting at first, I know it was for me. But once you master it you will never want to shoot auto again! To get a proper exposure there are 3 settings which you must control. Shutter speed, aperture and ISO. These are all part of the exposure triangle. If you change one setting, you need to adjust the other 2 settings. There are countless tutorials on shooting in manual mode which I encourage you to watch. But I will go over the basics with you here.
Shutter speed allows you to achieve a sharp image of a moving subject. As a minimum I normally have my camera set to 1/125s when shooting with strobes. If you are shooting with ambient light 1/200s would be my minimum.
For fast moving subjects you will need to increase your shutter speed to capture a sharp image. Also note that your shutter speed will control how light/dark your background is. The higher your shutter speed the darker your background will be.
Aperture determines your depth of field and the amount of light that enters the camera. It is measured in f-stops. The lower the number the more light will enter your lens, but your depth of field will be shallow.
For example, if you are shooting with an f-stop of f/2.8 and you are photographing a turtle, only the nose of the turtle will be in focus because the depth of field is shallow. To get more of the turtle in focus, increase your f-stop to let’s say f/9. This will increase your depth of field but less light will enter your lens. To counteract that loss of light you can either decrease your shutter speed or increase your ISO.
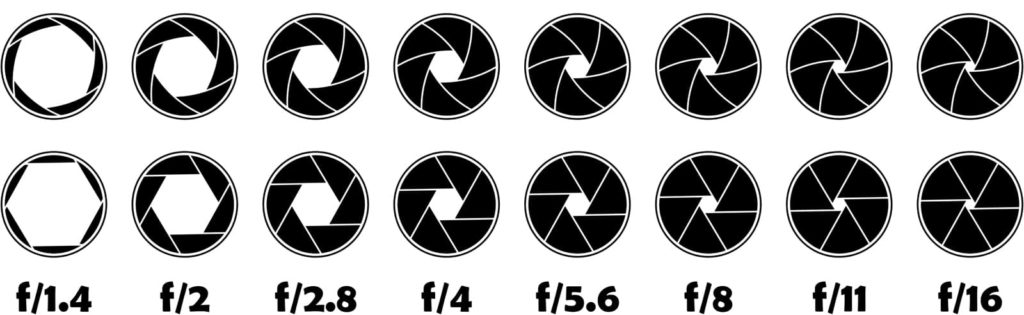
ISO in simple terms is a setting that will lighten or darken your image. By changing the ISO you are changing your camera's sensitivity to light. An ISO of 100 will be less sensitive to light compared to a high ISO of 1000.
If it is a super sunny day you don’t need more light so you can have a low ISO of 100. But if it is a cloudy day you can increase your ISO to 400 to brighten your image. But be weary of always shooting with a high ISO.
When shooting with a high ISO like 800 you will start to see ‘noise’. The noise makes your image look grainy therefore affecting its quality. You don’t want noise in your images. Always try to have your ISO on the lowest possible number you can.
Step 8: Shoot in RAW
A RAW file is simply a digital image that is stored on your camera's memory card. The file has minimal processing and is uncompressed. It is a big file so you will want a larger memory card for your camera. If you will be editing your images it is best to shoot in RAW because you won’t lose any valuable image data. That means you can recover highlights and increase shadows.
If you were shooting JPEG your images will be compressed and you will have less image data to work with. That means you will not as easily be able to recover highlights or increase your shadows. In underwater photography white balance is everything! If you shoot in RAW you can easily manipulate the white balance of the photo to bring out its true colors.
Even with light underwater your photos will still look blue/greenish. When I bring the photos into Lightroom I can play with the white balance and colors until I get the look I want. It is easy to do this because I shoot in RAW and all the image data is there.
If I was shooting in JPEG the camera has to figure out the white balance and apply it to the image and most of the time what the camera likes is not what you like. Of course the drawback to shooting in RAW is that you will need to spend time editing your photos afterwards. You will also need specific software to view and edit your RAW files like Lightroom or Photoshop. If you are not interested in editing then you can shoot in JPEG.
Step 9: Know Your Camera
It is so important to know how your camera works. You should be able to change your camera settings with muscle memory. I don’t have to look at my camera to find the dials to change shutter speed or f-stops anymore. It’s all muscle memory. This makes taking photos faster and gives you time to compose your image rather than work out settings. You should first learn all the buttons on your camera on land. Then you need to learn where those buttons are on the underwater housing.
The underwater housing will allow you to press all the buttons and dials on your camera, however, they might not be in the same place you know them on the camera. So practice taking photos with your underwater housing on land. That way when you are in the water you know exactly what buttons and dials to press to get the settings you want. There’s nothing worse than finding a great subject underwater but your settings are all wrong and you are not quick enough to change them before your subject swims off.
Step 10: Use Editing Software
My workflow after a photoshoot is to import all my images into my Lightroom catalog. I love Lightroom, it has made organizing and editing my photos so easy. Once I import my photos I can tag them with keywords about the shoot so they are easy to find next time. Then I do all my basic editing. White balance, contrast, highlights, shadows, clarity, saturation, sharpness, etc.
Lightroom has had a lot of cool updates recently that make editing a breeze. The AI technology will detect backgrounds and subjects so you can solely edit those parts instead of the whole image. I encourage you to give Lightroom a shot, it is fairly easy to use and very powerful. Then if I need to do more advanced editing I bring my image into Photoshop.
Photoshop has every tool you could possibly think of when it comes to photo editing. It is a lot more complicated to use than Lightroom so you will need to watch some tutorials to get the hang of it. But practice makes perfect and eventually you will find what your editing style is. Then you apply that style to all your photos and you have a portfolio!
I sincerely hope this article has helped you take better underwater photos. I know it is a lot when you are just starting out but if you keep at it you will get better! After years of doing underwater photography I look at my first underwater photos now and I can see my immense progress. I feel proud of how far I’ve come and I know you will too!
If you have any questions about underwater photography feel free to leave a comment or shoot me an email. I’d love to help you on your underwater photography journey!
0 Comments
Trackbacks/Pingbacks